The ultimate WOCAS-Guide
How to connect Power BI to your WOCAS application
If you have received a Power BI template from us at the start of the WOCAS project, a few small steps are still missing so that you can see the data of your specific application in this file. But don’t worry, we’ll guide you through the program step by step.
This is how you proceed:
(The screenshots correspond to the German Power BI version. Don’t let that put you off.)
Step 1: After opening the file, wait a short time, because Power BI first tries to update the existing data. You can then cancel this as soon as a pop-up appears.

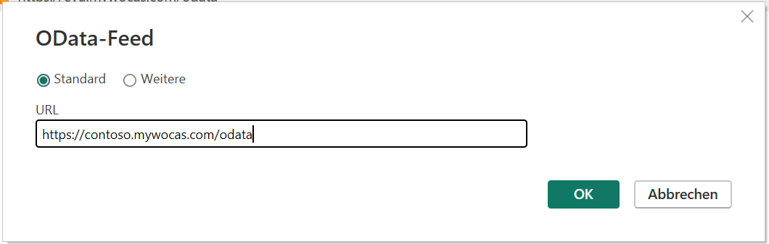
Step 2: Then click on “Transform data > Data source settings” and in the new pop-up on “Change source”. A new window will open in which you can replace the existing URL with your own (here https://contoso.mywocas.com/odata.)
and press OK.
You find your exact URL including “/odata” in your WOCAS® application under “Reports > Power BI” to copy & paste it:

Here you also receive the API Key you will need in the next step. Click on the symbol of actualization at the right side to generate the key and to copy & paste it later.

Step 3: Back in the “Data source settings”, select “Edit authorizations”. And then “Edit…” again.

Step 4: Now select “Web-API” in the dark gray area on the left to finally get to the point where you can enter the API key and save.
You will then be taken back to the previous pop-ups, where you click on “OK” and “Close”.
Now you’re almost there! Good job!
Step 5: All that’s missing is a click on “Apply changes” in the yellow pop-up and on “Update” (top center, to the right of “Transform data”).
After that, the magic happens: You will find your personal WOCAS® data in clearly arranged diagrams and tables. Simply click through the various tabs. In most pages, we have added a header for you to filter the data by time period or other attributes:
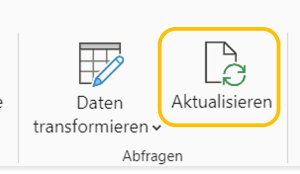

IMPORTANT: As new data is constantly being added using WOCAS®, it is necessary to refresh the file every time you open it! Simply click on the same icon in the top center as we showed in step 5.